For solar professionals and roofing contractors, mastering how to install solar panel rails on roof systems is essential for performance and safety. Whether you’re working on asphalt shingles, standing-seam metal, or tile roofs, rail alignment and anchoring are the backbone of a stable solar array. Yet too many installations face setbacks -leaks from mis-sealed penetrations, misaligned rails, or time lost on inefficient layouts.
At First Solar Installers, we’ve guided hundreds of residential projects across New Jersey, Massachusetts, California, and Texas, helping local pros install faster, safer, and with precision. This guide walks through the core steps, spacing rules, and best practices to help you complete every roof install like a seasoned expert.
1. Understand the Roof and Load Requirements
Before you even lift a rail, evaluate the roof type, structure, and condition.
- Asphalt shingle roofs: Typically need flashed L-foot attachments secured to rafters.
- Metal roofs: Use specialized clamps that attach to seams, eliminating penetrations.
- Tile roofs: Require adjustable standoffs and tile hooks.
Always confirm rafter spacing and roof load capacity based on local building codes. Remember the 20% rule for solar panels – ensure the system weight does not exceed 20% of the roof’s live load capacity.
Pro Tip: In states like California, local AHJs often require structural verification for older homes before any mounting system is approved.
Plan Your Rail Layout and Spacing
Proper spacing ensures both aesthetics and structural integrity.
- Distance between solar panel rails: Most residential panels need 40–48 inches (1–1.2 m) between rails, depending on manufacturer specs.
- Rails should align with module mounting holes and be leveled across the roof surface.
- Use a chalk line or laser level for precise alignment.
When planning your layout, factor in the roof’s pitch, obstructions (vents, chimneys), and local wind/snow load zones.
Too many installers rush this step and end up re-drilling. Spending 15 minutes planning can save an hour of adjustments later.
3. Install Roof Flashing and Mounting Brackets
For asphalt roofs, lift the shingles carefully and install flashing plates with lag bolts into rafters. Apply a high-quality sealant around penetrations to prevent leaks.
- Use L-feet or standoffs depending on module clearance requirements.
- Tighten all fasteners per torque specs (usually 18–25 ft-lb).
- On metal roofs, attach rails using seam clamps like S-5! or QuickBOLT systems -no drilling required.
Safety Reminder: Always wear fall protection and ensure rails are properly bonded and grounded according to NEC 690.
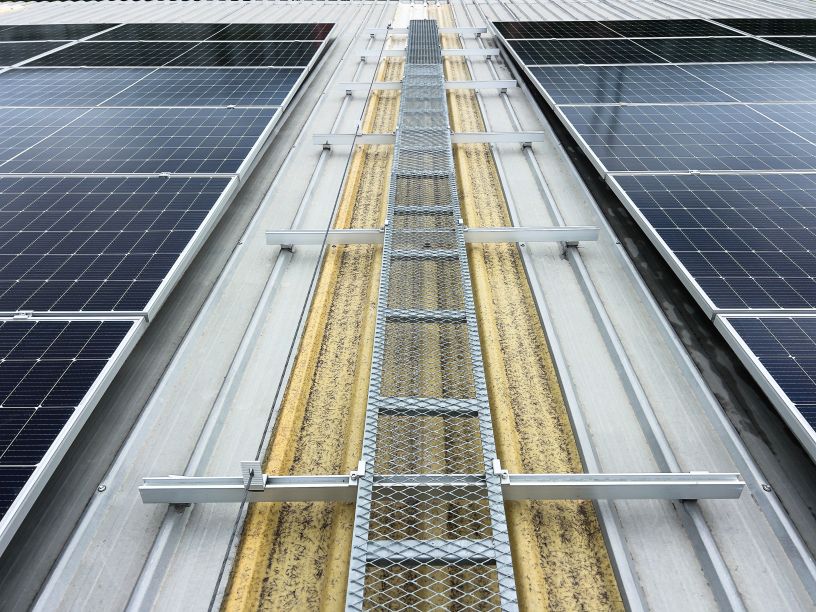
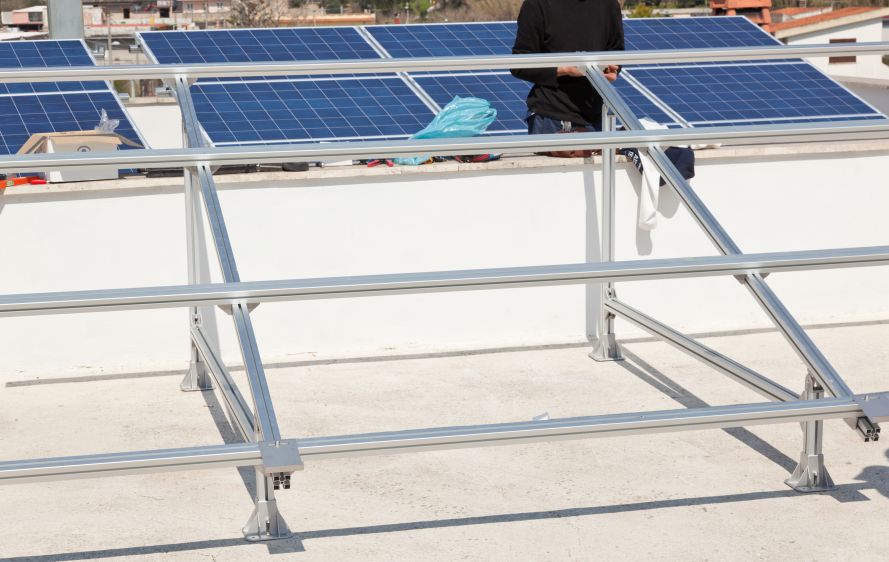
4. Mount and Level the Rails
Once brackets are secure, it’s time to install the rails:
- Attach the first rail to the bottom row of mounts and level it.
- Secure the top rail, ensuring proper module spacing.
- Use splice bars or rail connectors if extending runs.
- Verify parallel alignment – misaligned rails can cause panel stress or gaps.
For uneven roofs, adjustable standoffs help maintain a uniform tilt. Contractors often use digital inclinometers to match the roof pitch precisely.
5. Apply Grounding and Bonding Components
To meet NEC grounding requirements:
- Use bonding jumpers between rails.
- Ensure all metal parts are electrically continuous.
- Connect the grounding conductor to the main service panel using an approved lug.
Grounding components like WEEB clips or bonding mid clamps ensure electrical safety while simplifying the installation.
6. Final Checks Before Module Installation
Before mounting the panels, double-check:
- Torque settings on all bolts and clamps.
- Proper spacing and leveling across all rails.
- Secure flashing and water seals.
- Bonding continuity verified with a multimeter.
Document the installation with photos for inspection or warranty submission.
7. Mount Solar Panels and Secure Wiring
Now, install the panels using mid and end clamps. Tighten according to manufacturer specs and route wiring neatly through the rail channels or beneath the array.
Bundle and secure all cables using UV-resistant clips. Label conductors according to NEC 690.31 standards – a small detail inspectors notice.
8. Quality Assurance and Inspection
Once the array is complete:
- Conduct a visual inspection for rail alignment and aesthetics.
- Perform an electrical continuity check and insulation resistance test.
- Ensure compliance with local permitting and fire setback codes (especially in California and New Jersey).
When everything checks out, you’re ready for the inverter and system commissioning.
Common Mistakes to Avoid
- Skipping rafter location verification.
- Over-tightening lag bolts causing flashing deformation.
- Ignoring roof pitch compensation for rail leveling.
- Mixing rail brands or connectors without compatibility checks.
Remember: even seasoned contractors can slip up when timelines are tight. A consistent installation workflow prevents callbacks and warranty issues.
Why Partner with First Solar Installers
If you’re a local contractor looking to expand your residential solar projects, First Solar Installers offers full-scope support – from design consultation and equipment sourcing to installation partnerships. Our team has experience across asphalt, tile, and metal roof systems, ensuring every job meets code, efficiency, and quality standards. Call today to get a free quote!